Search

Reviving a Vintage Cocktail Cabinet: A Detailed Guide with a Bold Wallpaper Twist

Phoenix Furniture Studio / Decoupage  / Reviving a Vintage Cocktail Cabinet: A Detailed Guide with a Bold Wallpaper Twist
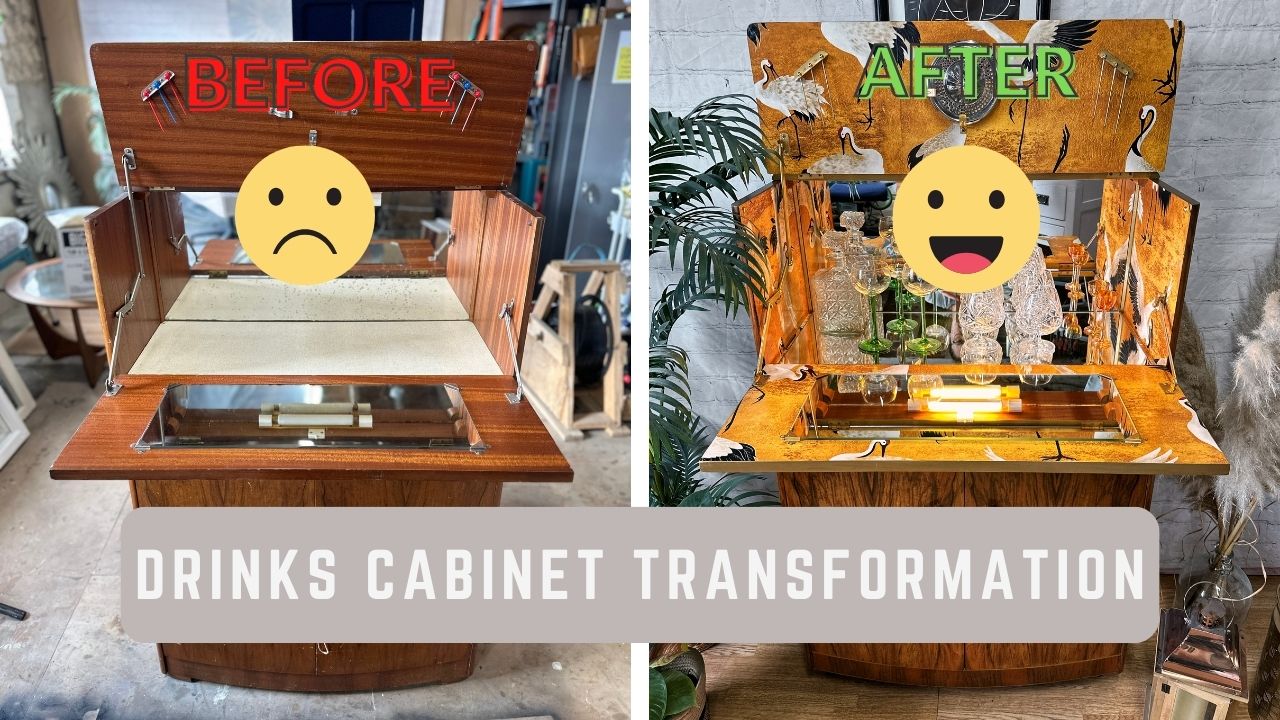
A split image shows a drinks cabinet transformation. The left side, labeled "Before," displays a plain wooden cabinet with a sad face emoji. The right side, labeled "After," shows a vibrant, decorated cabinet with glassware and a happy face emoji. Text reads "Drinks Cabinet Transformation.

Reviving a Vintage Cocktail Cabinet: A Detailed Guide with a Bold Wallpaper Twist

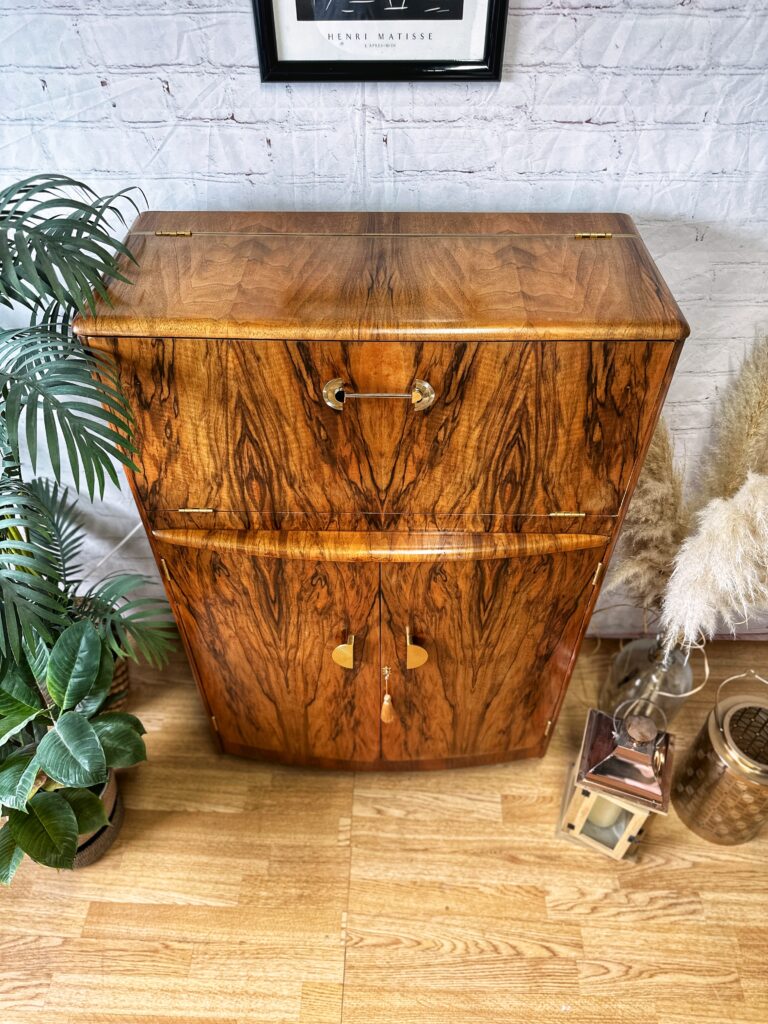
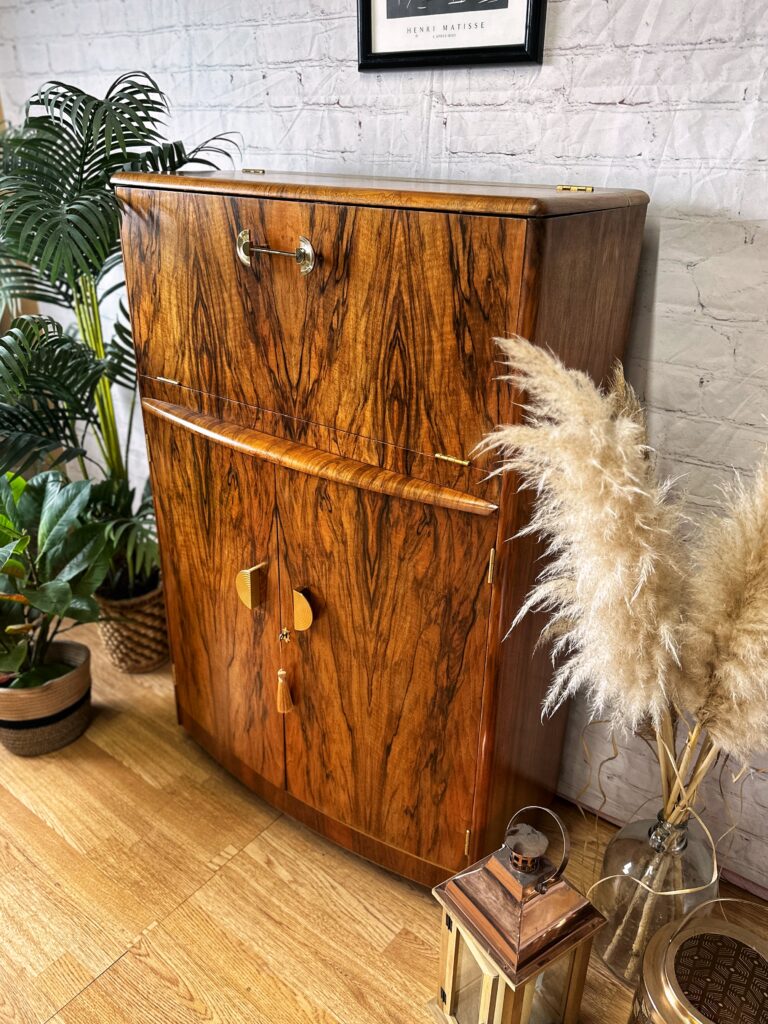
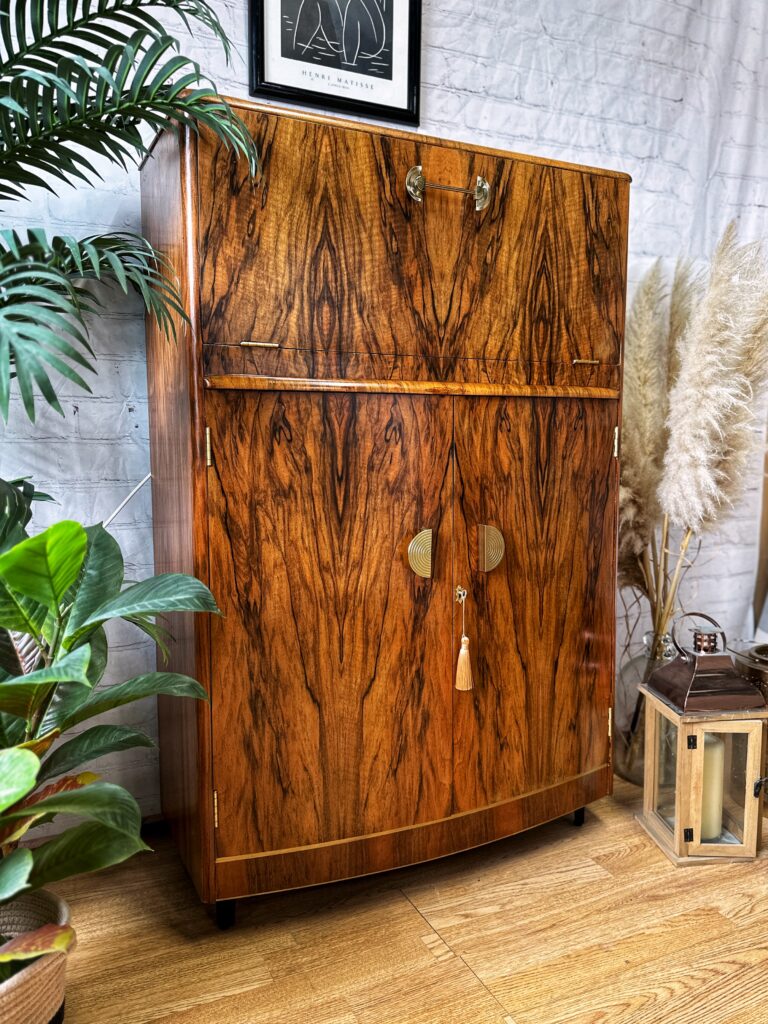
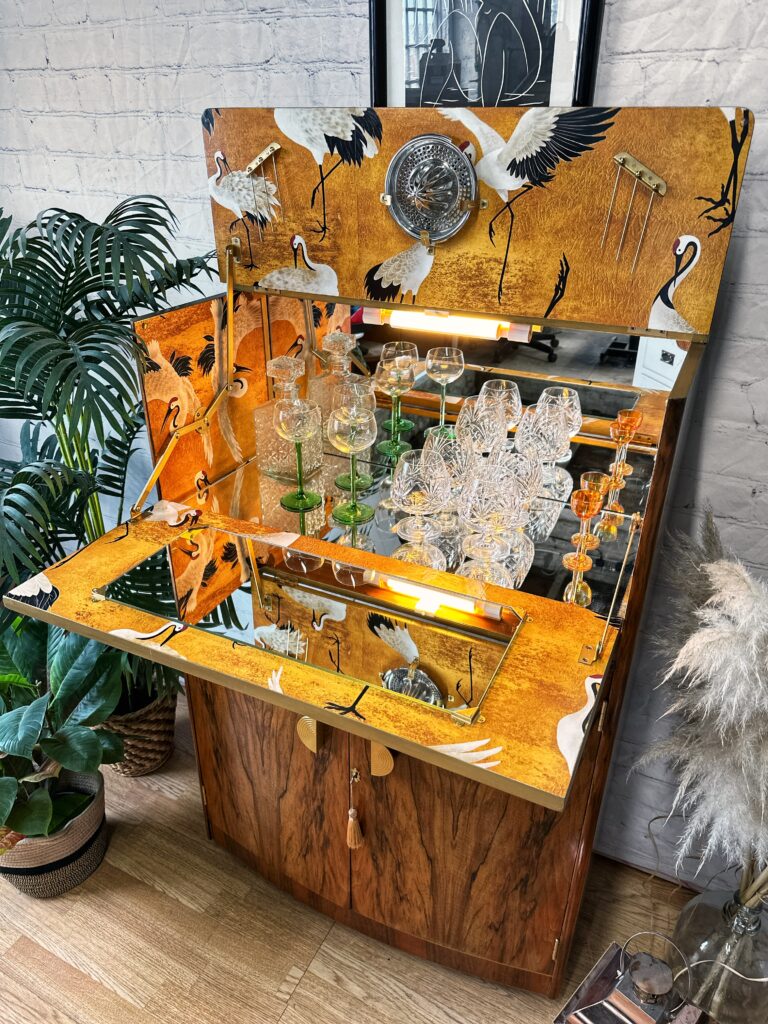
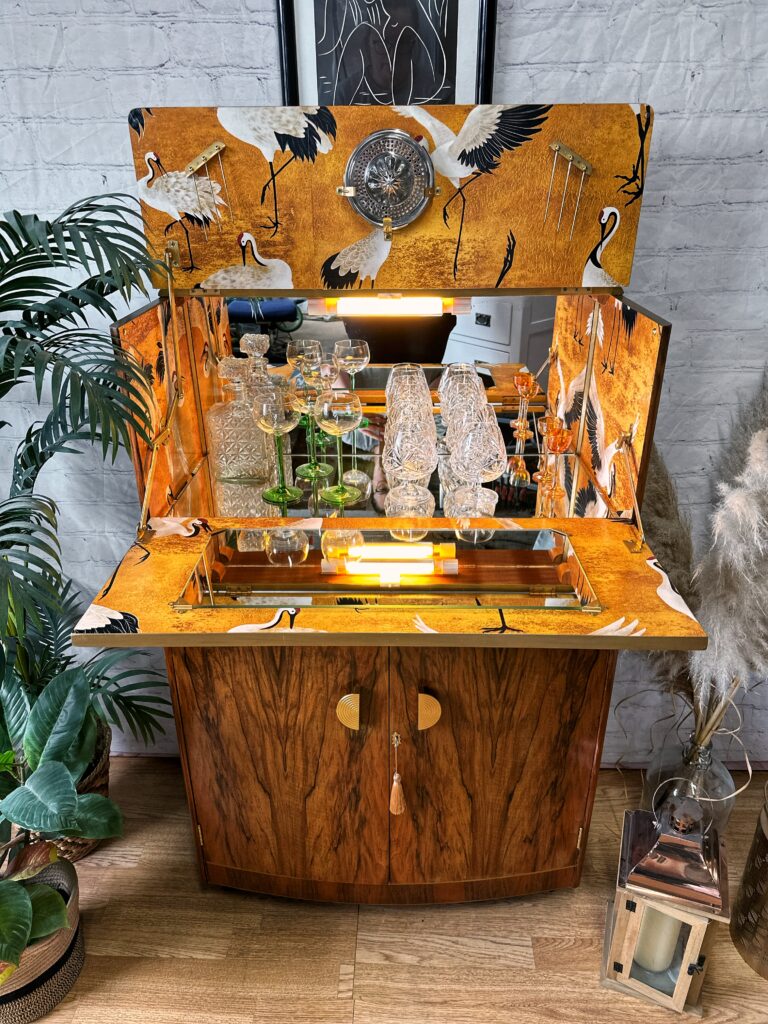
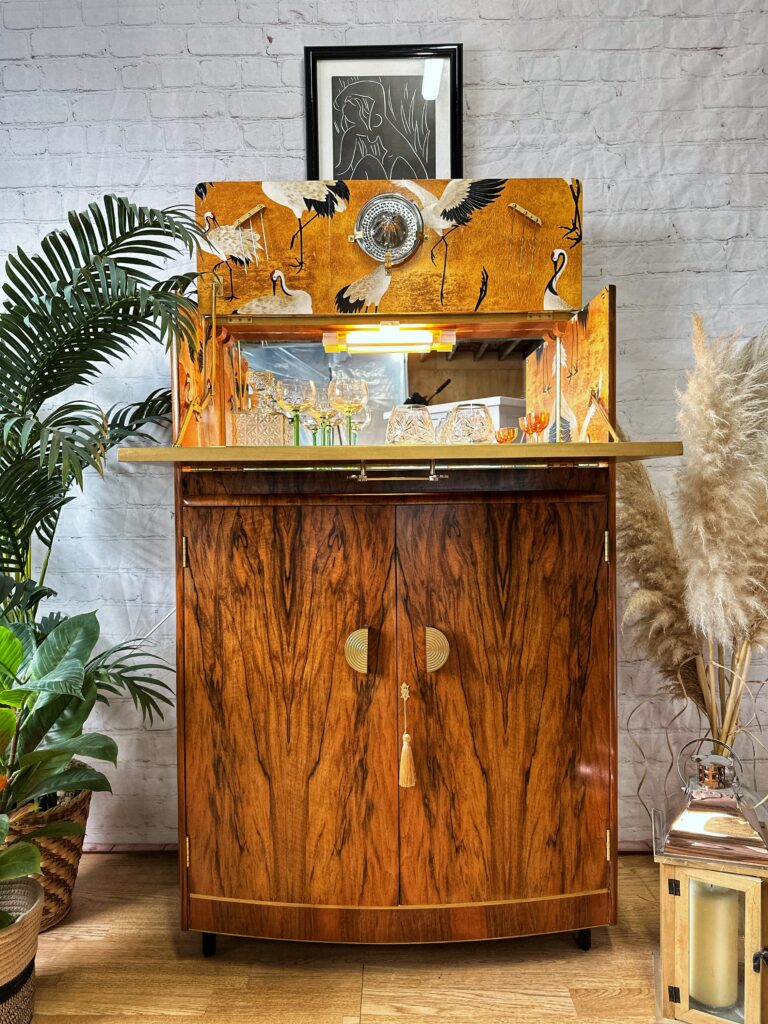
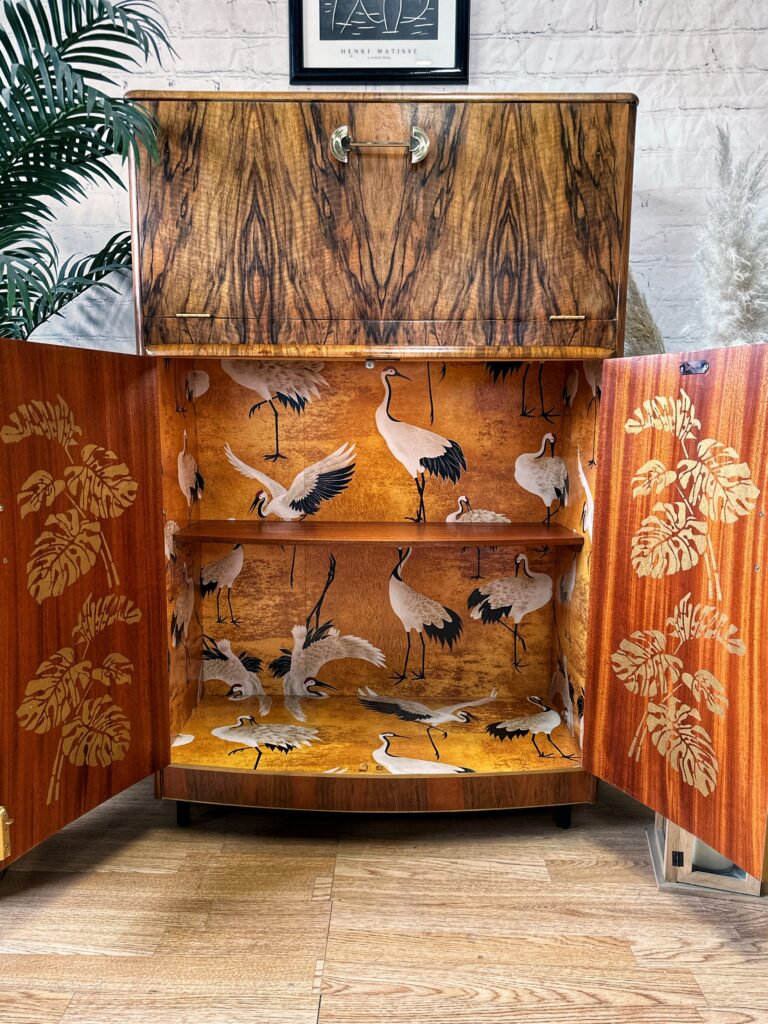
Hey everyone! I’m Brenda from Phoenix Furniture Studio, and today, I’m thrilled to share the step-by-step process of how I transformed a vintage cocktail cabinet with a bold and unexpected design element. My client desired a unique look that combined the beauty of natural wood with a stunning golden yellow crane wallpaper. Let’s dive in!

Materials Needed

Screwdriver (for removing hardware)

Drop cloths (to protect your work area)

Stripper (to remove old finish)

Sanding pads (various grits: 80, 120, 180, 240, 320)

Water-based primer

Wallpaper of your choice

Wallpaper paste or adhesive

Sharp utility knife and cutting mat

Smoothing tool or squeegee

Frenchic Frensheen

Monstera leaf stencil

Gilboys hard wax oil

Mineral spirits

Clean cloths

Paintbrushes or roller (for applying primer and wax)

Toner spray (optional, for color matching)

You can find links to all the products I recommend RIGHT HERE.

Preparation

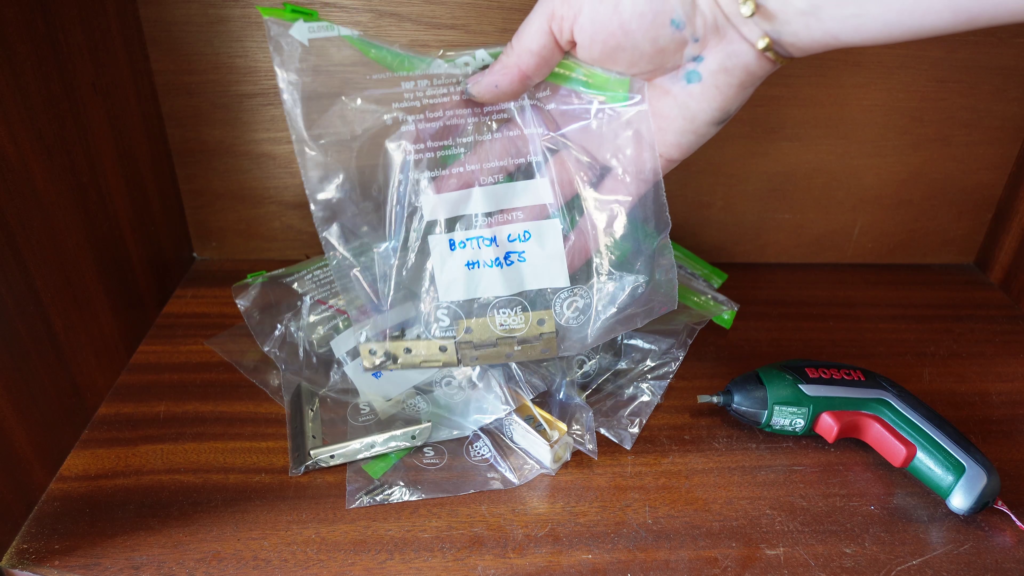
Disassemble: Carefully remove all hardware (handles, hinges, etc.) and doors. This will make the rest of the process much easier. I recommend using small sandwich bags (which you can label) to divide your hardware up into specific areas, so you know where they go when it’s time to reassemble.

Clean: Make sure to thoroughly clean the piece of furniture. Use dish soap and water to remove any dirt, grime, or grease. Dry thoroughly before moving on to the next step. For a list of my recommended cleaning products CLICK HERE. I also have a blog post breaking down the cleaning process, step by step which you can READ HERE.

Strip the Old Finish: Apply the stripping agent following the manufacturer’s instructions. Let it sit for the recommended time to soften the old varnish or paint. Then, use a plastic/metal scraper to carefully remove the loosened finish. Repeat this process if necessary. Go over all the stripped surfaces with mineral spirits and 0000 steel wool to neutralise the stripper and remove any stripper residue and varnish. For a list of my recommended stripping products CLICK HERE. ALWAYS REMEMBER YOUR PPE!!

Repair (If Needed): If there are any scratches or gouges, use a wood filler to fill in the affected areas.

Scuff Sand: Starting with 120 first sandpaper, sand away any remaining varnish and gradually work your way up to finer grits (180, 240) to achieve a smooth surface for oiling. Always sand in the direction of the wood grain to avoid scratches.
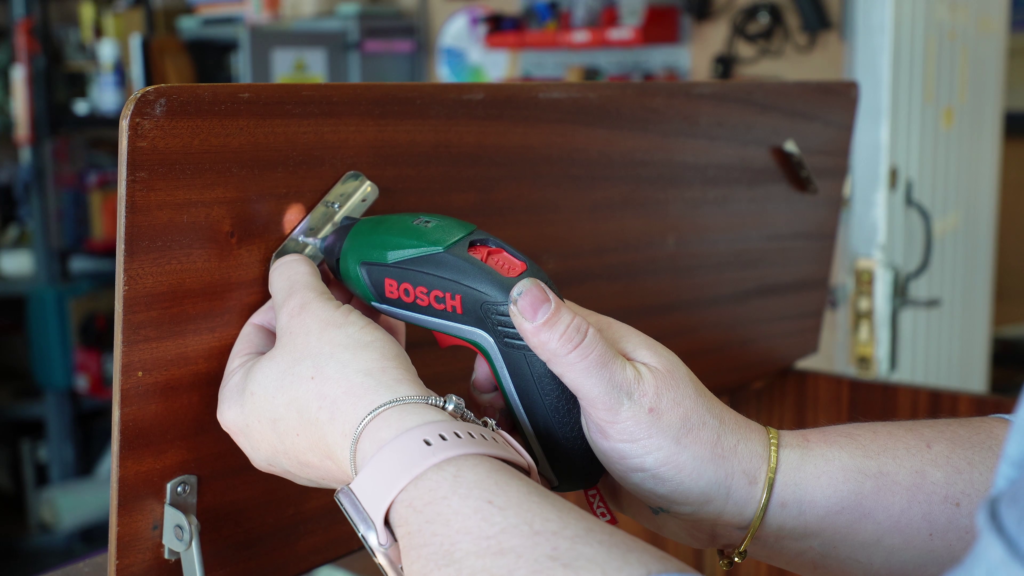
A person using a Bosch electric screwdriver to assemble or repair a wooden piece of furniture. The person's wrist is adorned with a smartwatch and a bracelet. Various tools and items are visible in the blurred background.
A tattooed hand holds a clear plastic bag labeled "Bottom Cup Hinges" containing metal hardware items. Several similar bags full of various hardware are laid out on a wooden surface. A green Bosch electric screwdriver lies next to the bags.
Wallpapering

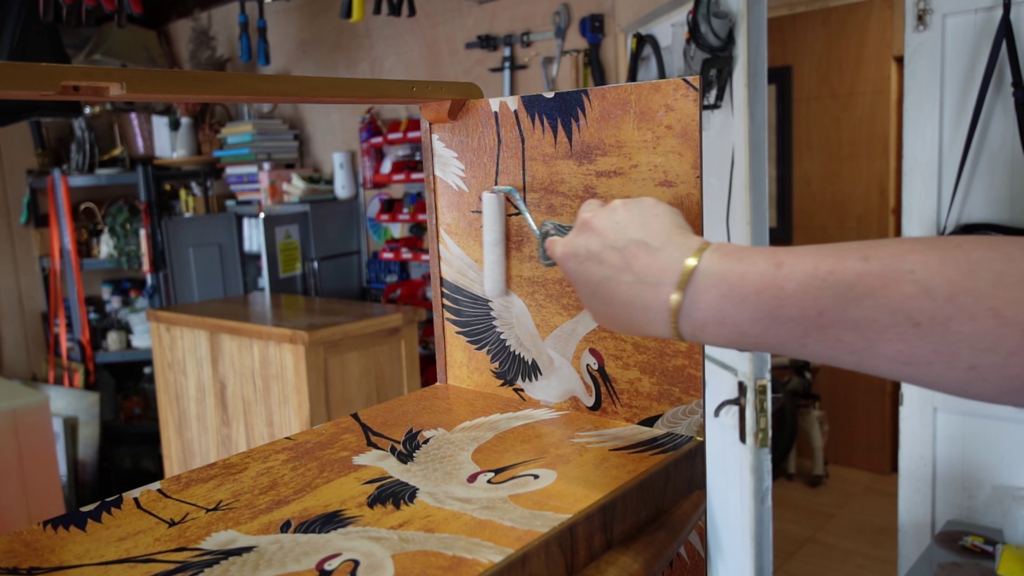
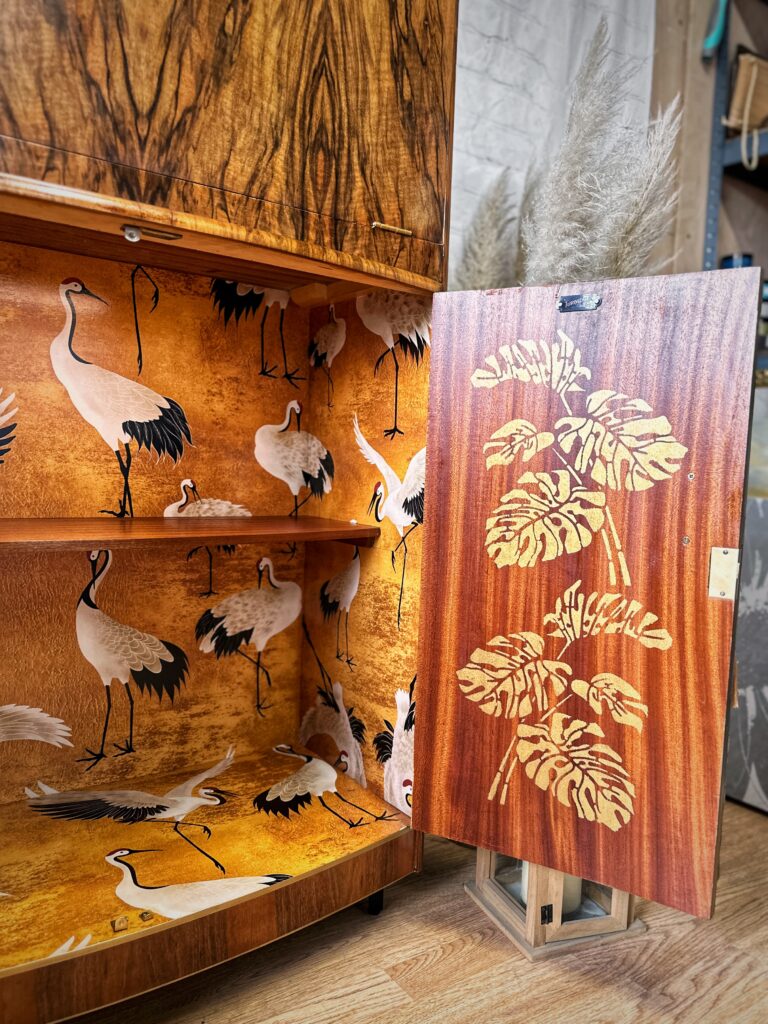
Measure the interior surfaces of the cabinet and cut the wallpaper accordingly. Leave a slight overhang for trimming later. Apply wallpaper paste or adhesive (I recommend Mod Podge) evenly to the back of the wallpaper. Carefully position the wallpaper onto the cabinet’s interior, smoothing it out with a smoothing tool (like this one) or squeegee to remove air bubbles and wrinkles. Trim any excess wallpaper with a sharp utility knife for a clean edge.

Protect the wallpaper with a couple of coats of varnish. My preferred varnish is Polyvine Decorators Varnish in Satin. I apply this using a microfibre roller.
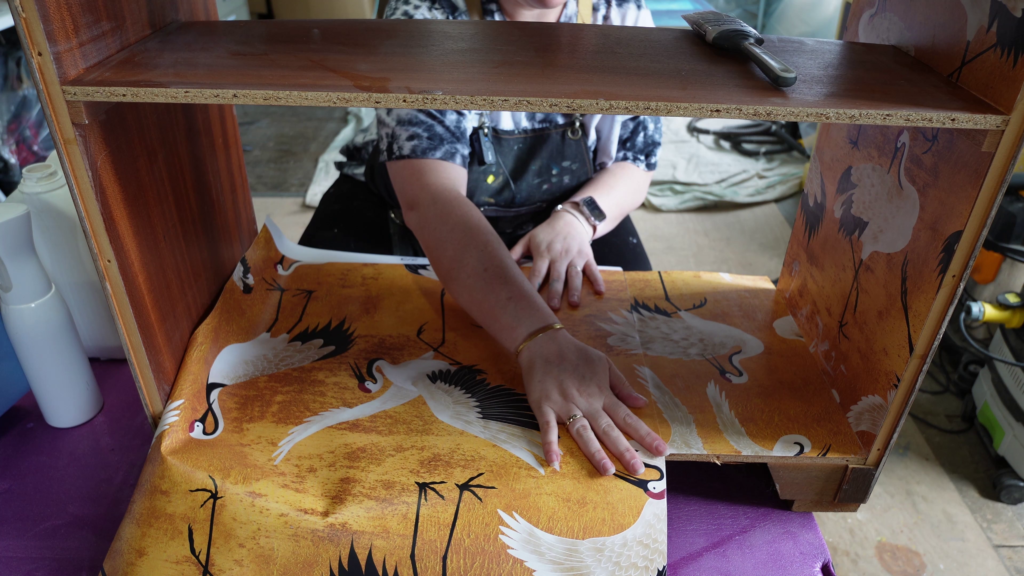
A person is seen applying wallpaper with white crane designs on a yellow background to a piece of wooden furniture. Their hands are smoothing the wallpaper as they work. A brush and some tools can be seen nearby.
A person's hand, wearing a bracelet, is seen adjusting a metal handle on a wooden object with a painted design featuring cranes. The background shows a cluttered workshop with a wooden table, shelves, and various tools on the walls.
Finishing Touches

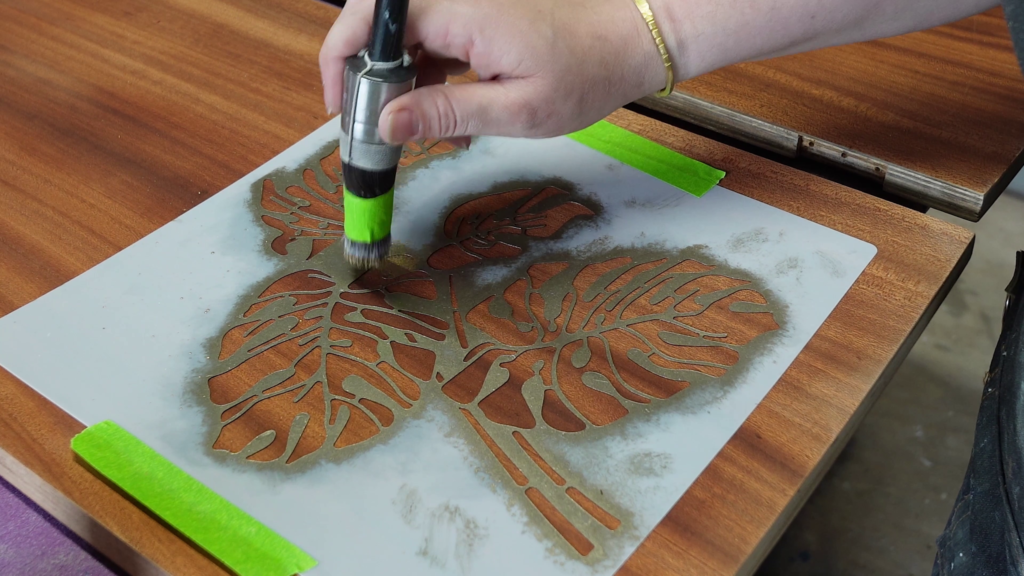
Enhance the cabinet’s elegance with Frenchic Frensheen gold finishing powder. To achieve the cooler-toned gold, I mix the Frensheen Gold and Frensheen Silver until I achieve the desired tone. Apply it to edges, corners, and other decorative details using a small brush. For a touch of personalization, use a stencil and paint to create a subtle design on the cabinet doors. I used this tropical leaf stencil for this project.
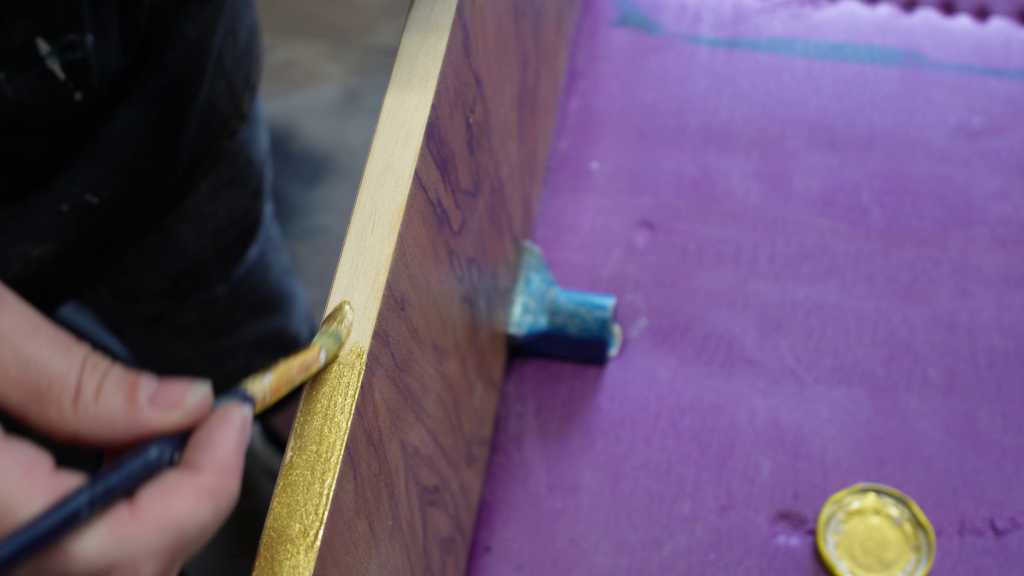
A person's hand holding a paintbrush is applying gold paint to the edges of a wooden surface. The wooden piece is placed on a purple fabric or material. A small blue clamp is partially visible, securing the wood in place.
A close-up of a person's hand holding a small can of spray paint, filling in a stencil of a large leaf. The stencil is secured on a wooden surface with green tape. The painted areas on the stencil are brownish-orange.
Waxing

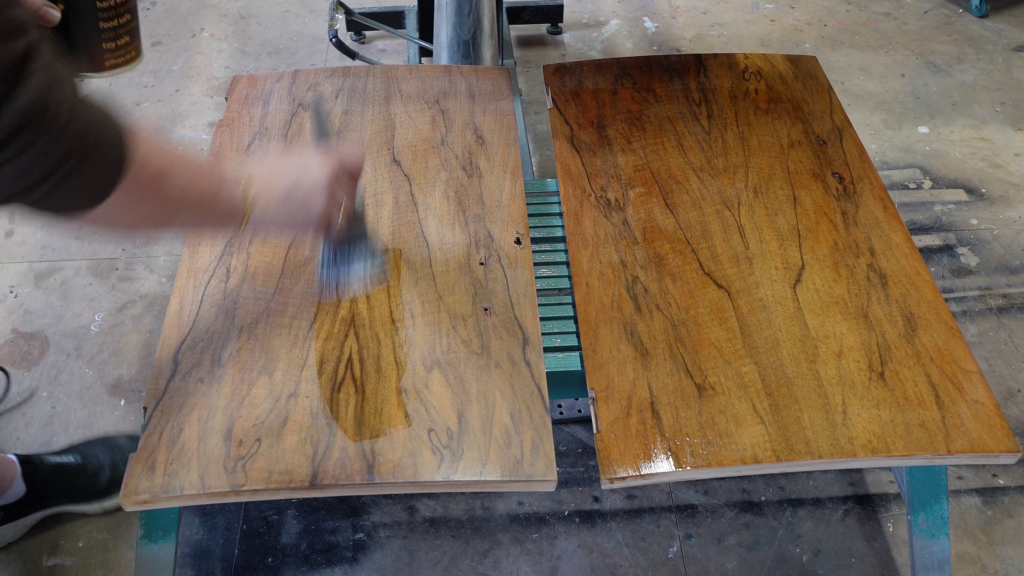
Using a brush, foam sponge or applicator, apply a thin coat of Gilboys Hard Wax Oil to the entire exterior of the cabinet. Work in the direction of the wood grain, ensuring even coverage. Use a paper towel to wipe away any excess oil. Allow the wax to dry for the recommended time.

Once the first coat of wax is dry, lightly scuff sand with 400 grit sandpaper to smooth out any minor imperfections. Apply a second coat of wax for a smooth, polished finish that highlights the wood’s natural beauty.
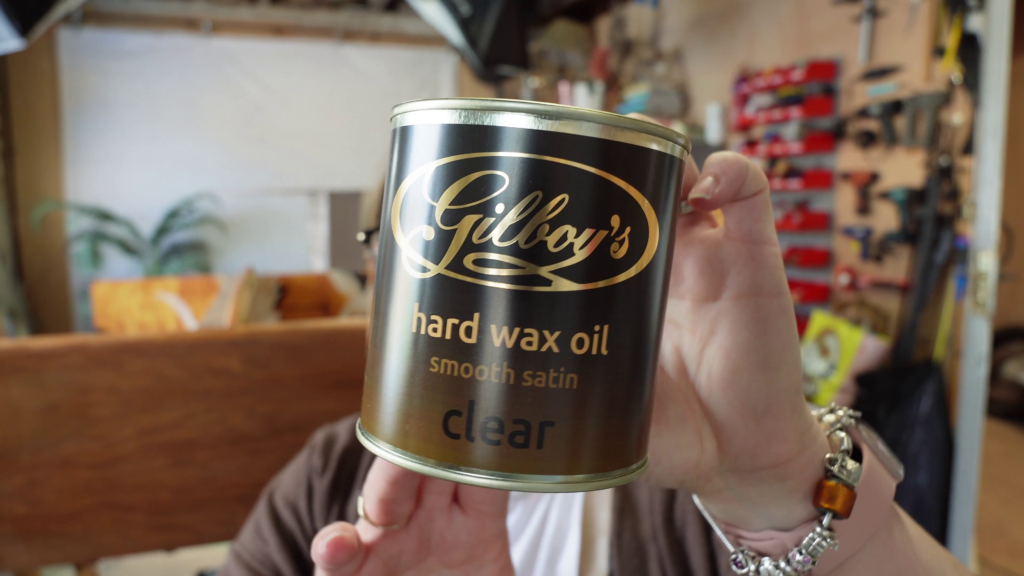
A person wearing a brown sweater is holding up a can of Gilboy's Hard Wax Oil in clear smooth satin finish. The background appears to be a workshop with tools and equipment. The person's face is not visible.
A person is applying varnish with a brush onto a wooden plank, which is beside another plank that has already been varnished. The varnished plank has a glossy finish, while the plank being worked on is still partially matte. The background is a workshop.
Reassemble

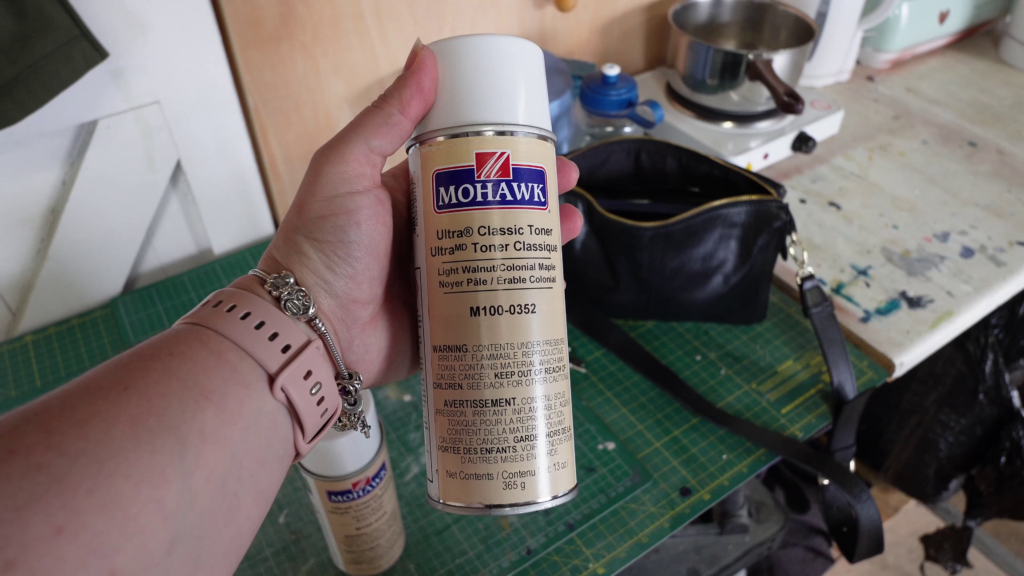
Carefully reattach the hardware and doors, ensuring they align properly. If you notice any color inconsistencies in the wood, consider using a toner spray to blend and even out the tones.
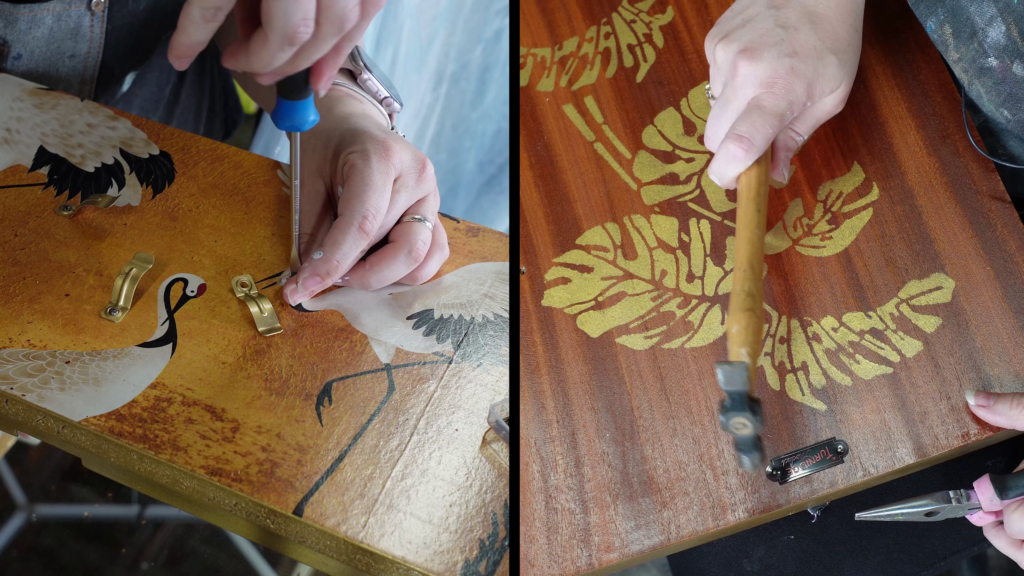
Split image showing two hands working on wooden surfaces. Left: Hand using a screwdriver to fix a small brass hinge on a decorated board with images of cranes. Right: Hand using a hammer to tap a small tool on a wooden board with gold leaf-style leaf patterns.
Close-up of a person holding a can of Mohawk Ultra® Classic Toner, labeled "M100-0352 Light Walnut / Colonial Maple." The person is wearing a pink watch and bracelet. A cutting mat, a black bag, and various items are visible in the background.

With these detailed instructions and a little patience, you can give new life to a vintage cocktail cabinet, creating a unique and stylish piece for your home. Enjoy the process and the beautiful results!
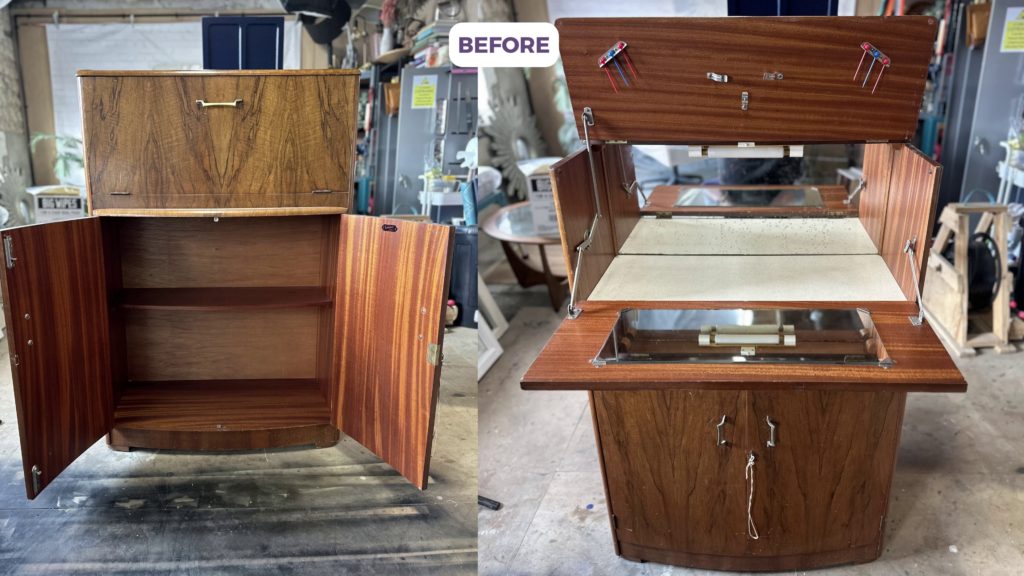
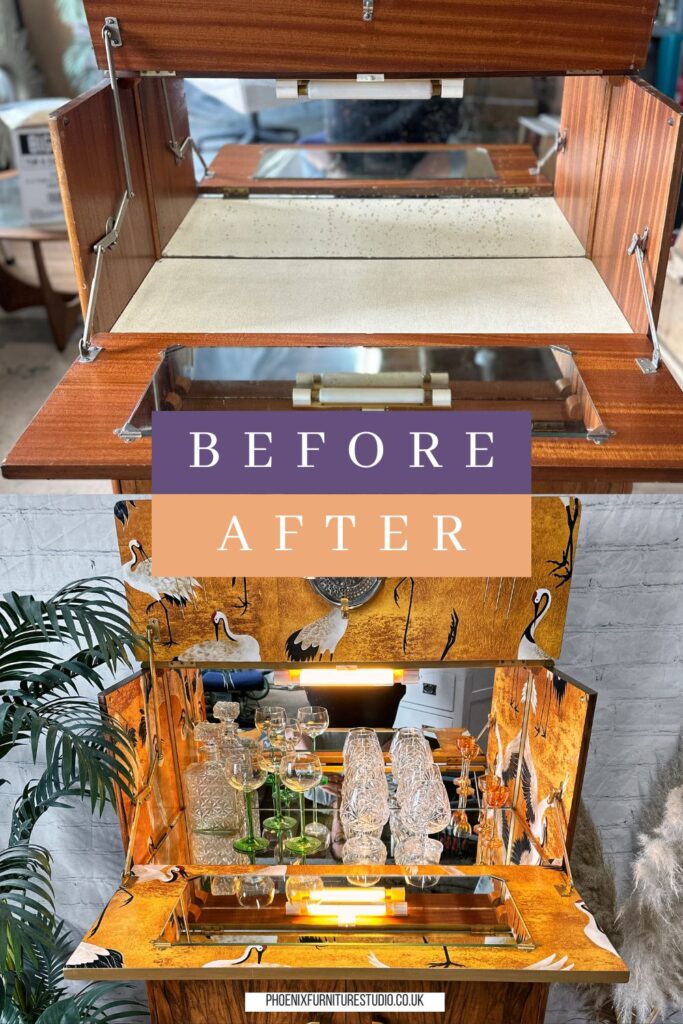
Before & After
Side-by-side images showing a wooden cabinet before and during restoration. The left image shows the cabinet with open doors and no drawers. The right image shows the top of the cabinet opened up, revealing a partially restored interior with visible wiring.
Pin This Post for Later
A split image showing a before-and-after transformation of a furniture piece. The top part shows an open wooden cabinet with a plain interior, while the bottom part features the same cabinet, now vibrant and decorated, stocked with glassware and liquor, reflecting a bar setup. Text overlays read "BEFORE" on the top image and "AFTER" on the bottom image.
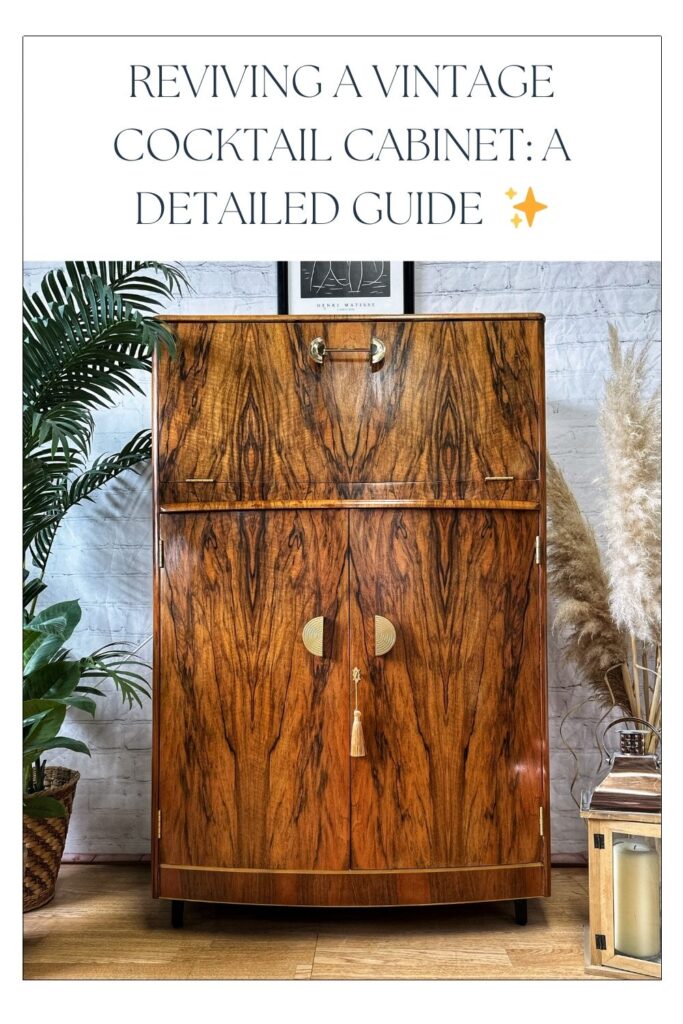
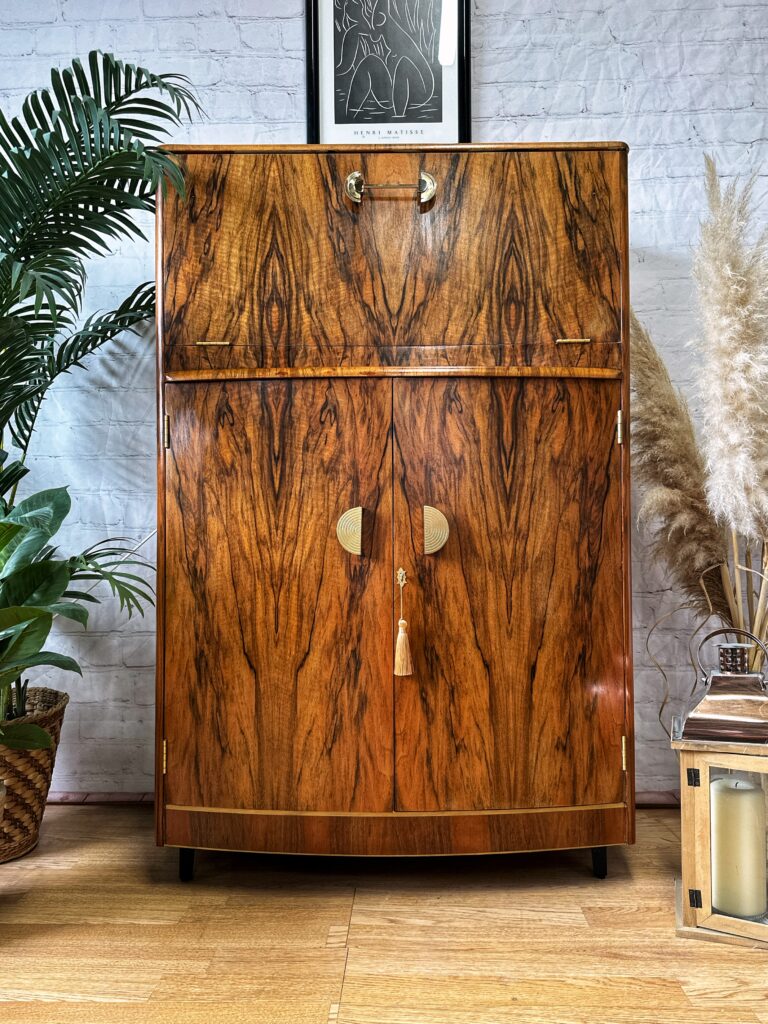
A stylish vintage cocktail cabinet made of wood with a detailed grain pattern. It features dual doors with gold handles and a tassel. The background includes a green plant, dried pampas grass, and a framed artwork. Text above reads "Reviving a Vintage Cocktail Cabinet: A Detailed Guide.
A stylish interior setup featuring a wooden sideboard adorned with golden crane wallpaper. The sideboard holds various crystal glasses and decanters. Text overlay reads: "Decoupage Dreams: Golden Crane Wallpaper for a Bold Statement." The URL at the bottom is phoenixfurniturestudio.com.

If you enjoyed this post why not subscribe to my newsletter to receive upcycling tips & tricks, exclusive offers, and more!

See you on the next flip!

Brenda

Leave a Reply