10 Top Tips on Painting Furniture Like A Pro
Painting furniture is a great way to give it a new lease on life and update your décor. However, it can be daunting if you’re unsure where to start. But, we all have to start somewhere, and the first piece of furniture you paint isn’t going to be perfect and that’s okay! Mine certainly wasn’t! I shared a post about how I created it which you can check out here if you’re curious!
Since then, I’ve painted dozens of furniture pieces, which I’ve been able to sell and have made a pretty good side hustle out of. In the process, I’ve learned how to get beautiful results that last, which I want to share with you.
Here are some of my top tips to help you paint your furniture like a pro:
The type of paint you use will depend on the surface you’re painting and the desired finish. For most furniture, a high-quality
If you’re looking for a more rustic, distressed, shabby-chic or textured look, then I would highly recommend chalk paint. It’s a very forgiving paint in terms of the prep work you need to do and gives you a chalky, matte effect which can be distressed for a vintage look.
If you’re painting a piece of furniture that will be used outdoors, you’ll need to choose an exterior paint that is UV-resistant and weatherproof.
Some of my favourite paints for painting furniture are:
Before you start painting, it’s important to clean and sand the surface to remove any dirt, grease, or old paint. This will help the new paint to adhere properly and give you a smooth finish.
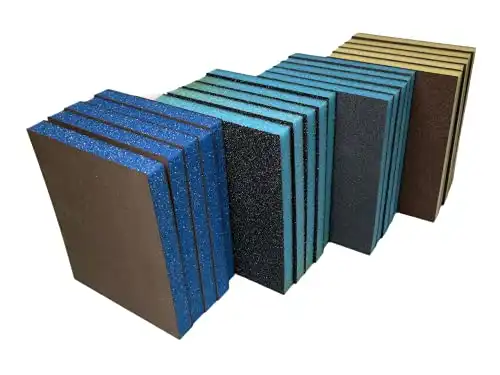
Always sand in the direction of the wood grain, starting with lower grit sandpaper (like 80 grit), then move to medium grit (120), then a fine grit (180) and finish with an extra fine grit (220). Be sure to wear a dust mask whilst sanding to avoid breathing in the dust particles.
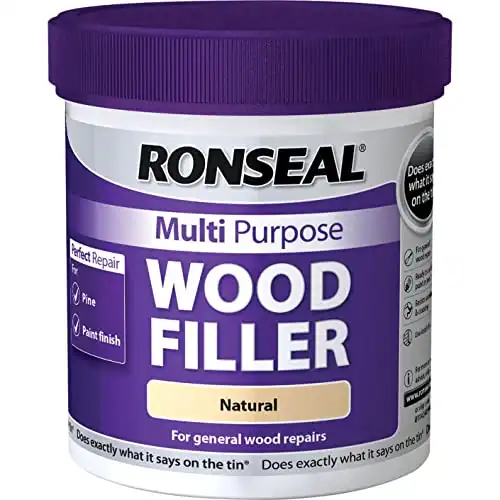
If there are any cracks, holes, or imperfections, fill them with wood filler and sand them smooth once dry.
Before you move on to the primer, give it one final clean to make sure you have removed all the dust and dirt residue.
Tools to get the job done:
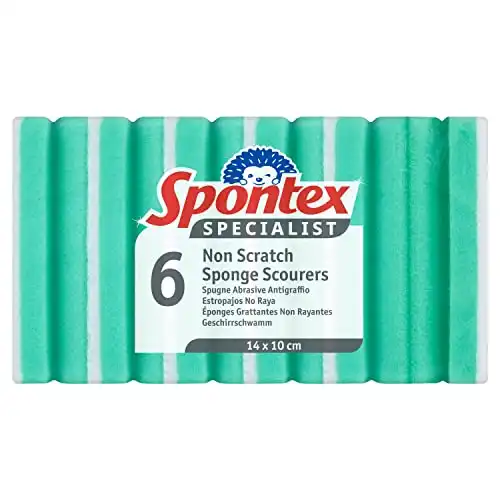
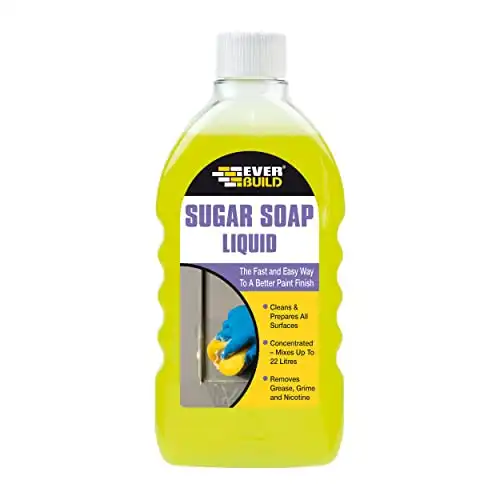 Everbuild Sugar Soap Liquid Concentrate
A great, inexpensive degreasing cleaner that goes a long way.
Primer is a crucial step in painting furniture. It helps to seal the surface and prevent the paint from chipping or peeling. Apply one to two coats of primer, allowing each coat to dry completely before applying the next. Make sure to sand between coats, and after your final coat, with 220-grit sandpaper to get that buttery smooth surface we’re aiming for.
A stain-blocking primer will help to prevent the bleed-through of tannins to your paint. Tannins are natural constituents present in some wood types and if they penetrate your paint layer, will cause a brownish-looking stain. Also, if you’re working with pine furniture, the knots in the pine will definitely bleed. My favourite stain-blocking primer is Zinsser Cover Stain. I made a reel explaining bleed-through, which you can watch HERE.
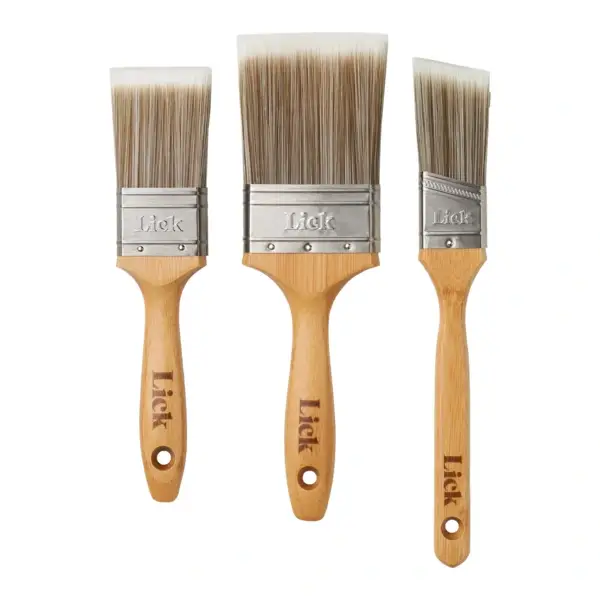
A high-quality brush and
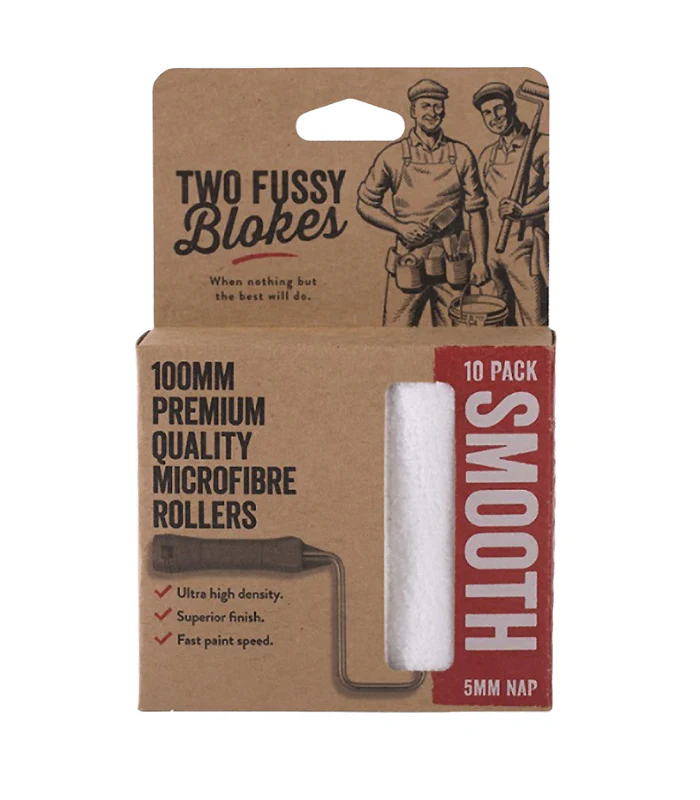
Small foam rollers will give you the best chance of getting a smooth finish and will apply the paint faster than using a brush. My favourite rollers are these ones from Two Fussy Blokes. They give a super smooth finish!
It’s better to apply several thin coats of paint than one thick coat. This will help to prevent drips and runs. You are not trying to achieve full coverage in one coat!
This is so important to avoid bubbles and wrinkles in the paint!
After the first coat of paint has dried, use a fine-grit sandpaper (around 320 grit) and sand the entire surface by hand. This will remove any bits that may have been caught in your first coat of paint and any bumps or texture in the paint.
Run your hand over the surface to check it all feels smooth to the touch.
Once everything is sanded, wipe it down with a damp cloth to remove any additional dust from the surface and move on to your next coat of paint.
Do not sand after your final coat of paint!
A topcoat will protect your paint job from scratches and stains. Apply a coat or two of a varnish or wax.
I prefer water-based varnishes as these do not yellow over time like oil-based varnishes. However, if you have used an oil-based paint, then I would recommend using an oil-based topcoat.
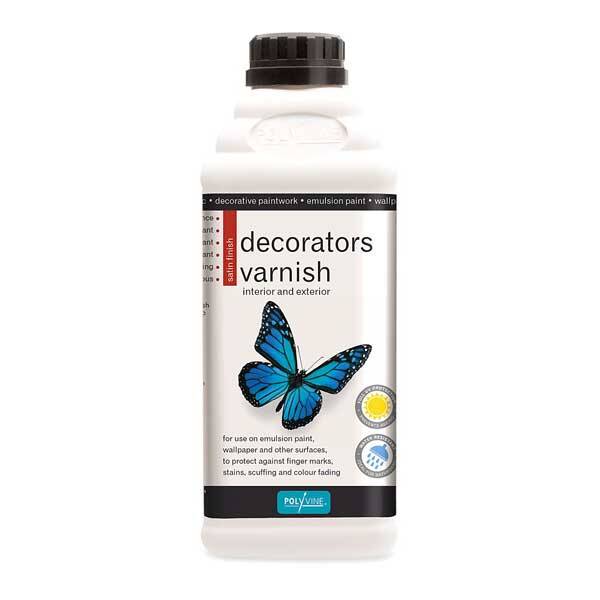
The different sheens of varnish will also provide different levels of durability – matt is the least durable, satin is in the middle and gloss will be the most durable. My favourite water-based varnish is the Polyvine Decorators Varnish in Satin.
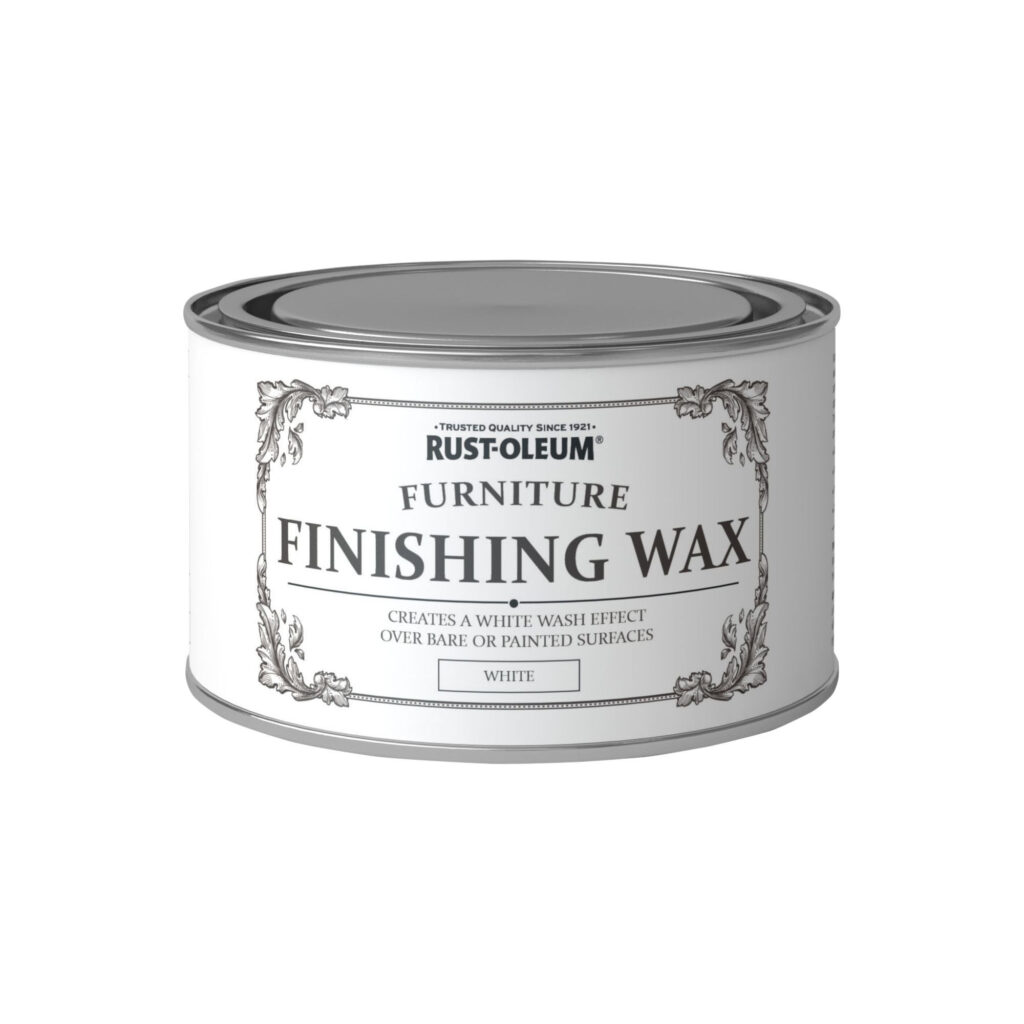
A wax finish will add a matte or low-sheen finish to the paint, but won’t be as long-lasting or as durable as a varnish. If I’m going to use wax to protect my furniture piece, then I’m reaching for Rustoleum’s Furniture Finishing Wax.
It can take some paints up to 30 days to fully cure, or harden. This means it is prone to getting scratched or chipped if you dive right into using it every day.
New hardware can give your furniture a whole new look. Choose hardware that complements the style of your furniture and the décor of your room.
And that’s it, you’re all done!
Once your furniture is painted, take a step back and admire your handiwork. You’ll be amazed at how a fresh coat of paint can transform a piece of furniture.
- Wear gloves and a mask to protect yourself from paint fumes and dust.
- Work in a well-ventilated area.
- Cover your workspace with drop cloths or plastic sheeting to protect it from paint splatters.
With a little planning and preparation, you can paint your furniture like a pro and give it a new lease on life.
If you enjoyed this post why not subscribe to my newsletter to receive upcycling tips & tricks, exclusive offers, and more!
See you on the next flip!
Brenda xx

